Certified Nodes
FlowFuse Certified Nodes are a collection of Node-RED nodes maintained and updated by FlowFuse providing trusted implementations of selected capabilities.
Nodes are grouped into two categories
- Hub: Nodes used to carry out more IT related tasks e.g. connect to Databases
- Edge: Nodes used to connect to physical devices to collect data e.g. Modbus
Enroll Customers
- Customer works with Sales team
- Sales Team opens an Issue on CloudProject with all required details
- Self Hosted or FFC Team
- Which Catalogues of Nodes to enable (Edge, Hub, or Both)
- Engineering member will be assigned the ticket
- Download the "certified-nodes-token-generator" from the engineering repo
- Engineering will use the information from the Issue to run the tool and create the required tokens and/or configuration
- Make required changes ff-certified-nodes instance
- For Self Hosted customer provide token to Sales to pass to the customer
- For Teams on FFC go to Team Settings -> Danger -> Edit Usage limits, tick Certifed nodes and add the required catalogue URLS to the box at bottom
- Sales provide the token to Self Hosted cutsomers. The token is to be entered on the Admin Settings -> FlowFuse Nodes page. NOTE: the cusomer MUST be running FlowFue 2.32.0 or newer before applying the token and they will need to restart Instances to pick up the new catalogues.
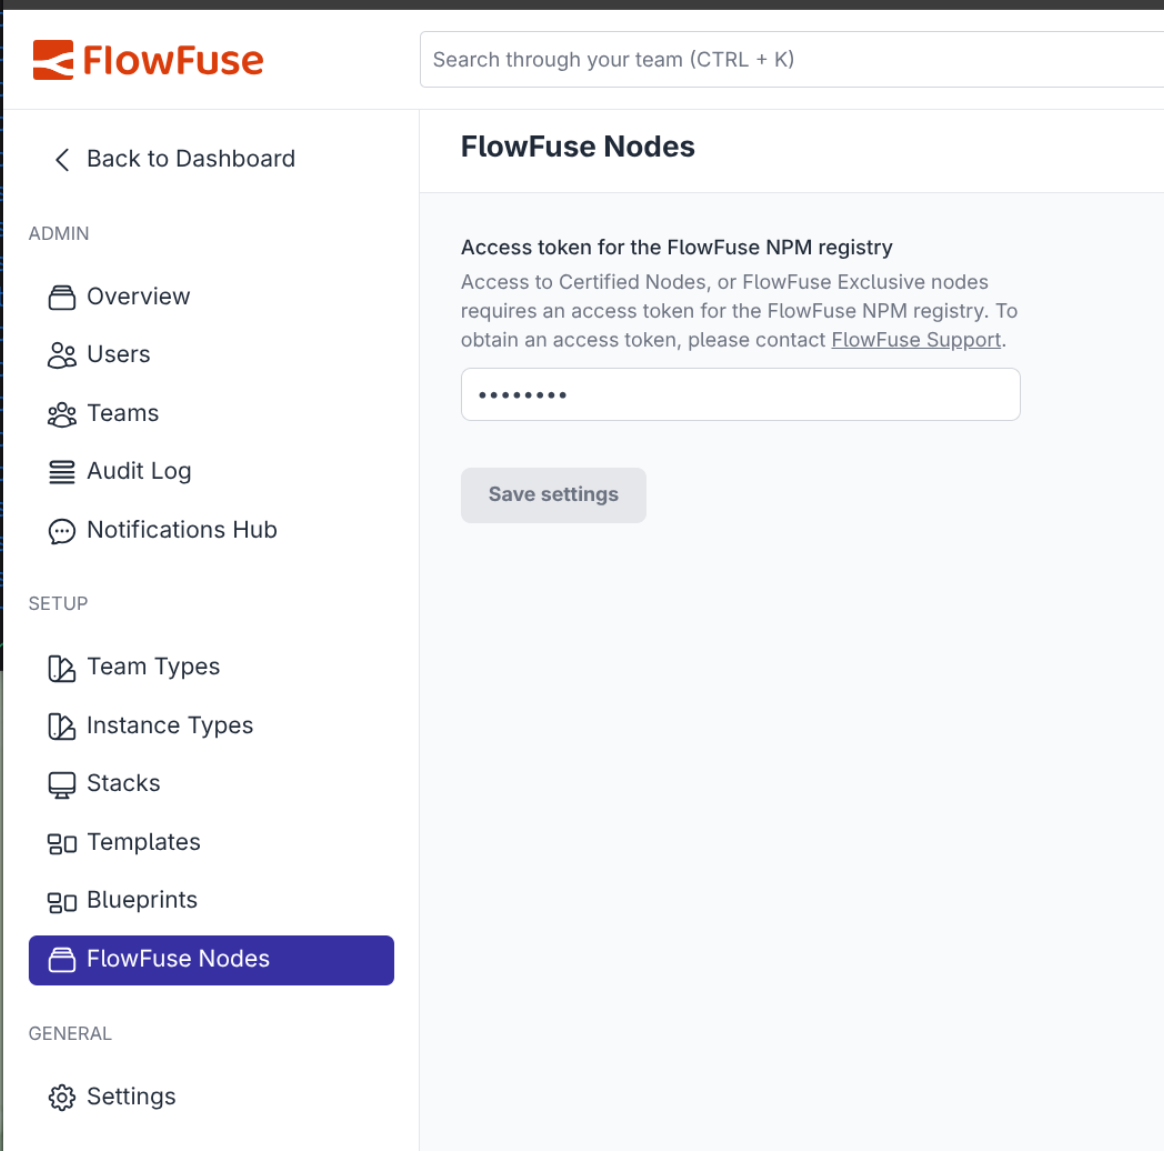 Screnshot of where to enter Certfied Nodes Token
Adding New Nodes
- Evaluate all existing Node-RED Comunity nodes
- Select one of above or create new from scratch
- Create a new private GitHub repository with the name
ffcn-prefix - If using an exisitng node, create copy of GitHub respository as follows
git clone --bare <url of existing repo>- cd into the created directory
git push --mirror git@github.com:FlowFuse/ffcn-<repo-name>.git
- Complete the new repository check list
- Make changes to the
package.jsonto update- The name and scope to be
@flowfuse-certified-nodes/<name>, where name should be shortest sensible name - The
homepagelink to FlowFuse documentation for the node - The
publishConfig.registryto point to the FlowFuse registry (https://registry.flowfuse.com) - Add .github/workflows/release-publish.yml
and the matchingCERTIFIED_NODES_PUBLISH_TOKEN` secret from 1Password.
- The name and scope to be
- Publish the node to the FlowFuse registry.
Updating the Catalog
Once a node is published, it must be registered in the ff-certified-nodes Node-RED instance before it appears in customer instances or on the Integrations page. This instance lives in the Internal Tools Application on FlowFuse Cloud (ff-certified-nodes.flowfuse.cloud) and its editor has three flow tabs: Authentication, catalog generator, and Usage.
Two things are generated from this instance and both must be updated when adding a node:
- Catalogs — the
ff-it.json/ff-ot.jsonfiles that are served to the end user's Node-RED instance. - Authentication data — sent to the backend plugin in the npm registry so packages can be mapped to the correct collection.
Nodes are split by product, and the flow uses IT/OT to refer to them:
- Hub = IT nodes
- Edge = OT nodes
1. Add the node to the build catalog
- Open the
ff-certified-nodeseditor and go to the catalog generator tab. - Open the Build catalogues function node and select the On Message tab.
- Add the package name (e.g.
"@flowfuse-certified-nodes/<name>") to the correct const array:ITNodesfor Hub nodesOTNodesfor Edge nodes
- Deploy.
These arrays feed certNodesITCat ("FlowFuse Hub Certified Nodes") and certNodesOTCat ("FlowFuse Edge Certified Nodes"), which build the catalog files delivered to customers' Node-RED instances.
2. Add the node to the authentication collections
- In the same editor, go to the Authentication tab.
- Open the
templatenode wired to the/collectionsendpoint (under the Auth handler for certified nodes registry comment). It holds a JSON object with acollectionsarray and alookupmap. - Add the package to the correct group in the
collectionsarray (itfor Hub,otfor Edge), and add a matching entry to thelookupobject mapping the package to its group:"collections": [ { "name": "ot", "packages": ["@flowfuse-certified-nodes/opcua", "@flowfuse-certified-nodes/rtsp"] }, { "name": "it", "packages": ["@flowfuse-certified-nodes/redis", "@flowfuse-certified-nodes/<name>"] }, { "name": "user", "packages": ["@flowfuse-nodes@nr-mcp-server-nodes"] } ], "lookup": { "@flowfuse-certified-nodes/redis": ["it"], "@flowfuse-certified-nodes/<name>": ["it"] } - Deploy.
The Authentication tab is also where customer instances/users (tokens) are managed — see Generating Tokens for Access to Certified Nodes Registry.
Result
Once both tabs are updated and deployed, the node is included in the generated catalogs served to Node-RED instances and mapped in the registry. The website's Integrations page then picks it up automatically — it fetches ff-it.json and ff-ot.json from ff-certified-nodes.flowfuse.cloud directly.